User Area
The User Area is your personal account page. It collects everything that belongs to you rather than to the whole Dino installation: your sign-in details, your DINO-AI key and credits, the colors Dino uses for you, data backup and restore, and the guided tour.
The page header shows your initials, your full name and your email address, so you can always confirm which account you are signed in as. The Dino version currently running is shown at the top right.
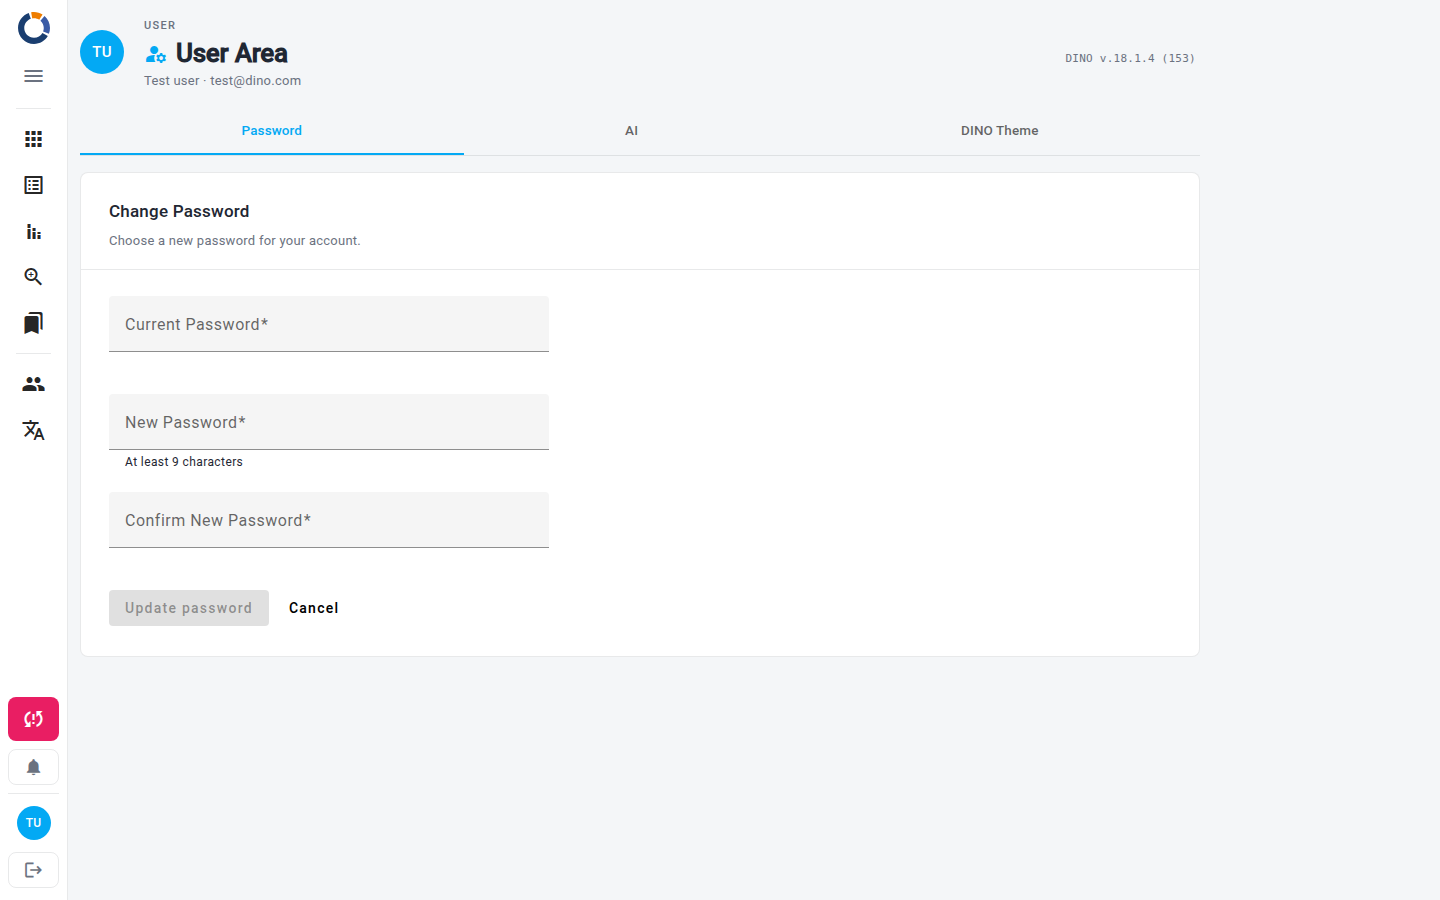
The User Area is organised into tabs. The tab you are on is part of the page address, so you can bookmark a specific tab and return to it directly. Switching between tabs does not move your browser history — pressing Back leaves the User Area instead of stepping through the tabs you visited.
Changing Your Password
The Password tab is where you update the password you use to sign in to Dino.
- In the Current Password field, type the password you are using now.
- In the New Password field, type your new password. It must be at least the number of characters shown beneath the field.
- In the Confirm New Password field, type the new password again.
- Select Update password.
If you want to start over, select Cancel to clear all three fields. If the current password does not match, Dino tells you so and no change is made.
Pick a strong password
Use a password you do not use anywhere else, and store it in a password manager. See Reset Password if you have forgotten your current one and cannot sign in.
DINO-AI Key and Credits
The AI tab shows the DINO-AI key that belongs to your account, together with the number of DINO-AI credits you have left.
- Select Show to reveal the key, or Hide to mask it again.
- Select Copy to place the key on your clipboard.
- If your installation supports purchasing credits, select Add more to top them up.
The key is issued to your account automatically when you sign in — there is nothing to paste in here. If no key is associated with your account, the tab says so.
DINO Theme
The DINO Theme tab controls the colors Dino uses for you. Color changes apply only after you save them, so you can experiment freely; the light/dark choice applies immediately.
- Select the Primary Color, Accent Color, and Warning Color fields and choose a color from the picker.
- Use the Preset name field to name the combination, or pick an existing name from the list.
- Switch between light and dark mode using the sun and moon buttons.
- Select Save theme to apply your choices.
The Preview panel shows how your selected colors will look before you commit to them. Load preset brings back a saved combination, and Reset discards your edits and goes back to the theme currently applied.
Themes are kept in this browser
Your theme and your saved presets are stored in the browser you are using. On another browser or device, Dino starts from the default theme.
Backup and Restore
The Backup and Restore tab lets you download a full copy of your data or load one back in. It is shown only to administrators, and only when backup and restore is enabled for your installation.
To back up your data:
- Select Download backup.
- Save the file, which is named
dino_db_export.json, to a safe location.
To restore data:
- Select Choose a backup file and pick a
.jsonfile exported from Dino. - Confirm the restore when Dino asks.
- Wait while Dino restores the data. A spinner is shown until the process finishes.
Restoring overwrites matching data
The data in the file is written into the local database on this device: any record with the same ID as an imported one is overwritten. Take a fresh backup before you restore, and make sure the file is the one you actually want.
Tutorials
The Tutorials tab is shown only when the guided tour is configured for your installation, and contains a single action. Select Start Dino Tour to launch the guided walkthrough of Dino's main features — a useful refresher if you are new to the platform or want to revisit a specific area.